
 In preparation for future Play to Learn Diner activities, we needed to make some pretend play menus. Since this project is a little long, I decided to split it up into two parts. Now looking back, I could probably have split it up into three parts.
Today's Project: Pretend Play Diner Menus (Part 1)
Ask your child to create a painting to be used to decorate the front cover of pretend menus that can be later used to play diner or restaurant. Your child will also need to create menu labels for the fronts of his or her menus.
Supplies Needed:
1) 5 different colors of Colorations Simply Washable Tempera Paint
4) 4 standard manila folders
5) 2 pages of printed menu labels (provided below)
6) 1 black marker
8) Old newspaper
 Additional Supplies Needed (Not Shown):
- large sheet of newsprint paper
- scissors
- paper towels
- all-purpose white glue
- scanner (if you do not have a scanner, you can have color photocopies made at your local copy place)
- ruler
- pencil
Step 1: Have your child create a painting on one sheet of newsprint, using all the colors while trying to cover the page completely with paint. (There are no other rules for this painting. You want your child to take his or her time to produce something he or she is proud to show off.) When the painting is done, leave it aside on a flat surface to dry. It may take several hours depending on how thick the paint is.
Tip #1: Using a separate cup and brush for each color really worked out well for us in keeping the colors pure and separated. This does not mean that your child cannot swirl colors together if he or she prefers, but the brushes should be wiped off before dipping them back into the paint cups.


Step 2: Print the following two pages on your inkjet or laser printer. To print, simply click on the desired image to enlarge. Then right-click and select print. Use your browser's back button to return to this page.
Tip #2: Please note that you are not restricted to using these free printables for the menu labels for this project. You can create your own labels from scratch on your computer or by hand.


Step 3: Ask your child to write the name of the pretend diner on each menu label using the black marker.
Step 4: Ask your child to use the color pencils, using similar colors to the ones in the painting, to color in and decorate each menu label.

Step 5: Carefully cut out each label.

Step 6: Next we need to trim the manila folders to the desired size. I chose a width of 6-inches, but you can choose any width 6-inches or greater. With the folder face-up, use a ruler to measure 6" from the folded edge in several places, marking your measurements with a dot using a pencil. Then use the ruler as a guide to draw a straight pencil line connecting the dots you just made. Trim off the unwanted portion of the folder by cutting along the pencil line with scissors.
Tip #4: We chose to use the backside of the folders as the front of the menu. This way the vertical lines that give the folders the ability to be expandable will not be visible.


Step 7: Now take the dried painting and scan four sections of it. (I chose to scan the four corners, but you can place and rotate the painting anyway you like for each scan.) Then use a color printer to print out your four scans. If you do not have a scanner, you can take the painting to any photocopy service to have color photocopies made.

Step 8: With the copies in a vertical position, trim the width to about the same size as the labels. (You do not need to use straight lines, but can be creative by using wavy scissors or by scalloping the edges.)
Step 9: Using the all-purpose glue, secure the trimmed copies of artwork to the fronts of the four menus, making sure to leave an even border around the bottom and two sides.
Step 10: Then use the glue to put the menu labels into place making sure to leave an even border around the top and the sides.
Below are the results of Part 1 of our menu project . . .

Look for Part 2 of our Pretend Play Diner Menus project coming soon. In Part 2, we will be completing the inside of the menus.
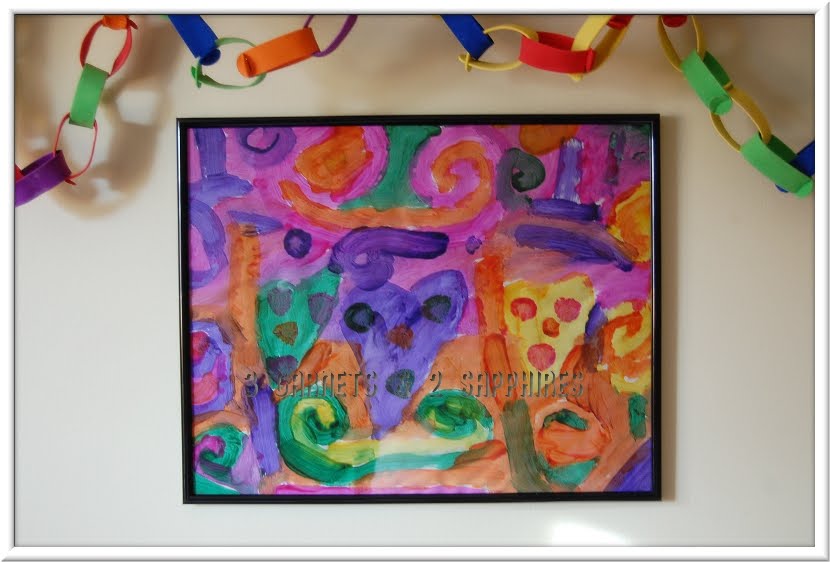
I was so proud of how well my son's painting came out that I framed it in a poster frame and hung it up in his room . . .
Thank you to Discount School Supply for sending us paint supplies free of charge to use in our Creating With Colors series.
